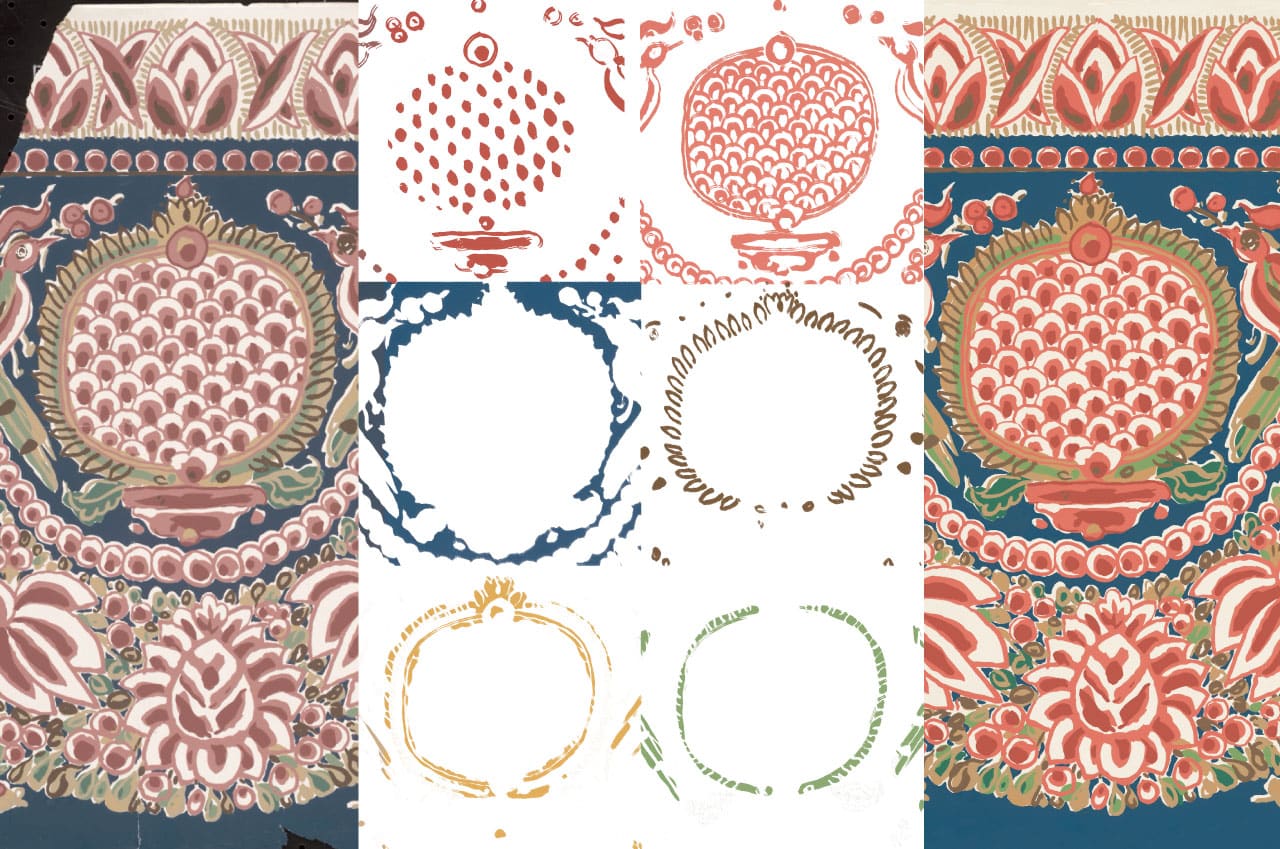
We recently worked on reproducing and matching a wallpaper border pattern for a home renovation.
On the plus side, this project had a lot of pros:
- Small, repeatable surface area
- Well conserved sample with hardly any dust or staining
- Clear separation of colors
On the other hand, there were some unique challenges:
- Tiny scrapes and tears throughout the original wallpaper sample
- More than 6 colors to match, adding complexity and time to the proofing process
- new wallpaper must match existing installation
- A small portion of the pattern is missing and must be recreated/drawn by hand
We addressed these concerns in that exact order:
1. Repair Damage Digitally
We eliminate scuff marks, tears and other imperfections using Adobe Photoshop. This task requires patience and proficiency with the clone stamp tool and spot healing brush.
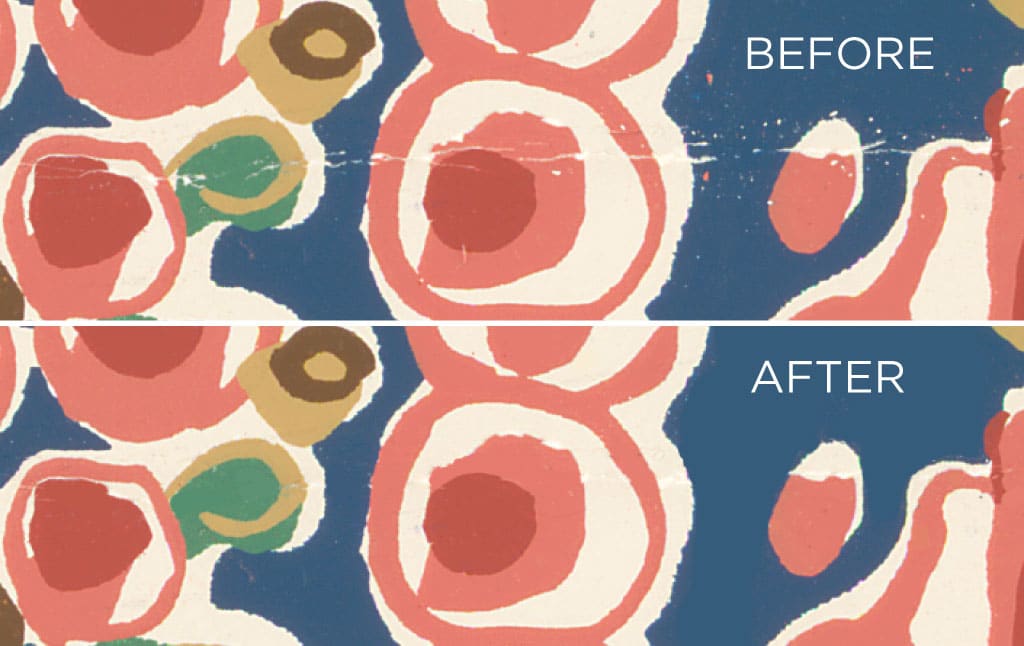
NOTE: In rare cases you can paint directly with colors using the paintbrush, but this is only when the original art is a completely solid tone. Most digital scans reveal what we perceive as a solid color is often made up of a noisy rainbow of similar colors. Painting a flat color against this subtle noise is more obvious in the final print, than what you will see on your computer monitor.
2. Restore Missing Graphics
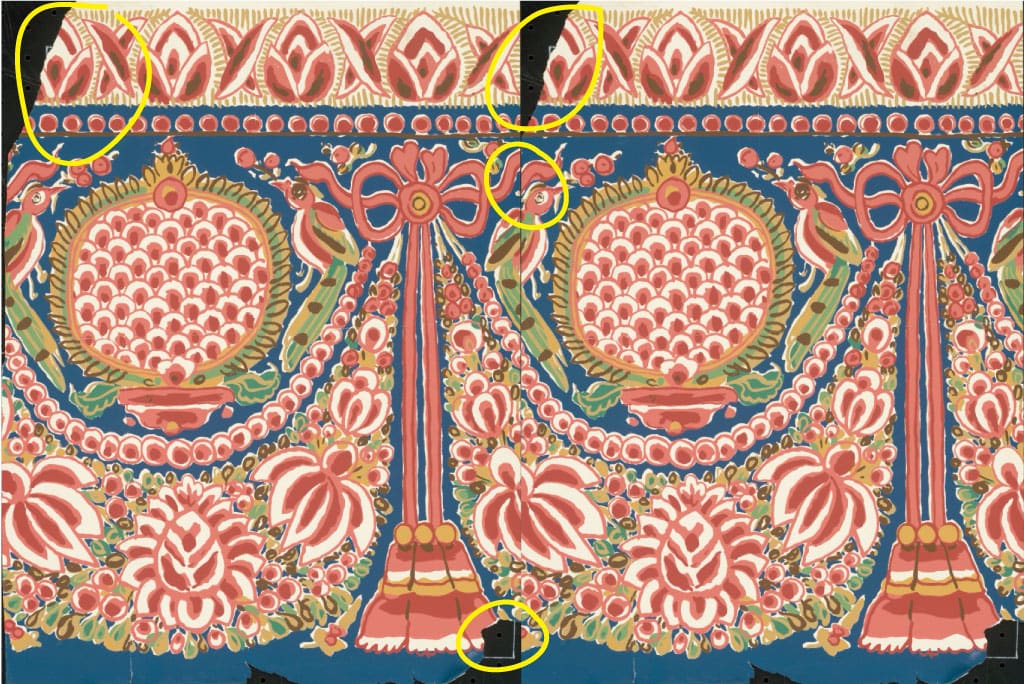
This part of the design process requires professional scanning of the original sample and some creative thinking on the designers part.
You can clearly see how part of the bird’s head is missing on the left. Thankfully this is a symmetrical layout and we can sample from the other side. Make your selection, duplicate it on a separate layer, then flip it horizontally to fill in the missing gap.
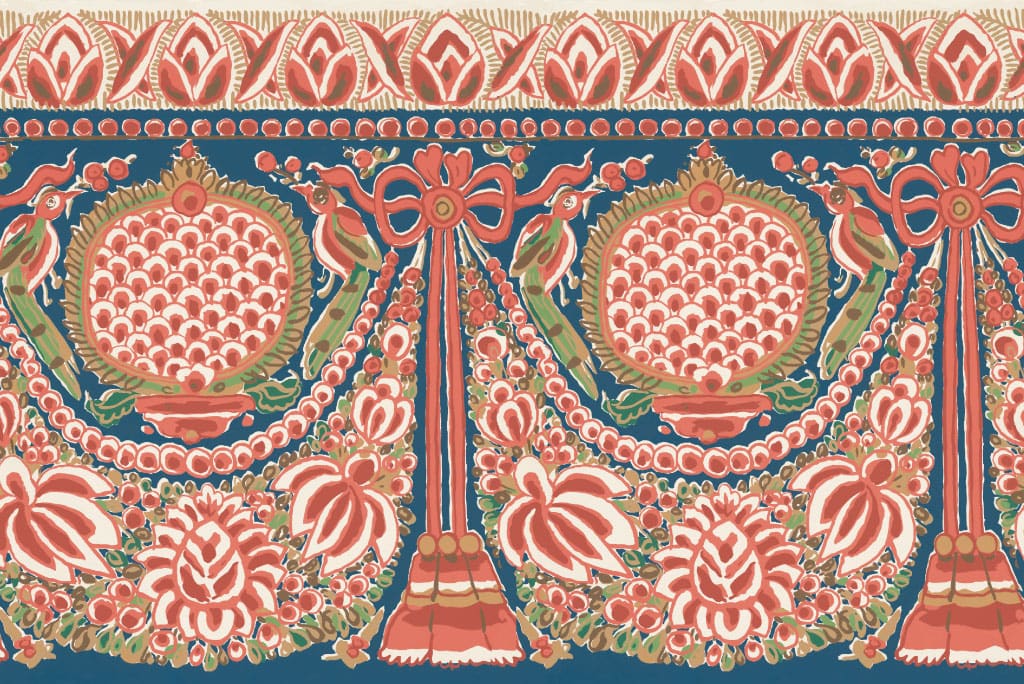
NOTE: You will want to zoom in pretty close (200%-300%) in order to ensure that these sections are matching and blended sufficiently.
3. Separate & Isolate Each Color
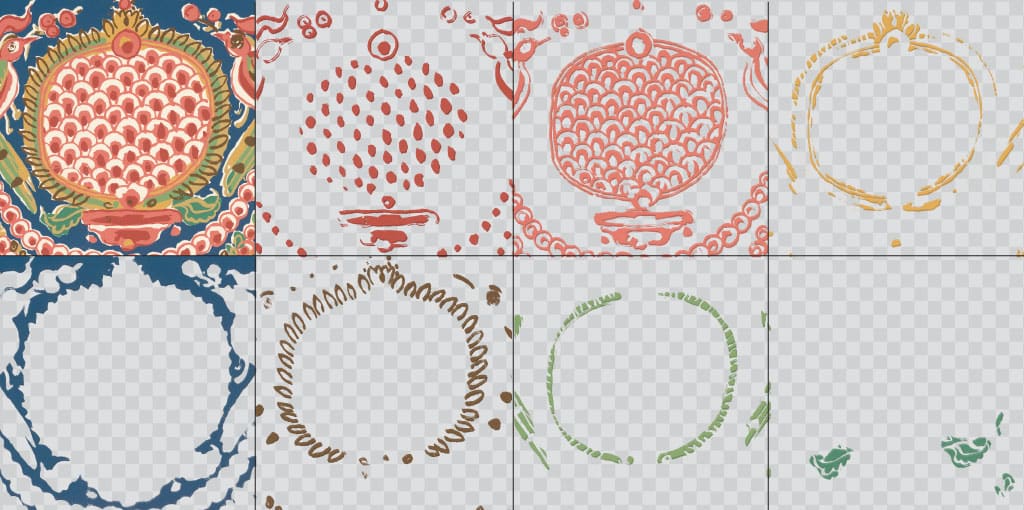
While there are a lot of colors to match, another benefit of this design is that it has clear color boundaries and the contrast between individual colors is quite pronounced. In these cases we can rely on the in “Color Range Selection”, always taking great care to tweak the tolerance and number of sampled colors to ensure a clean layer.
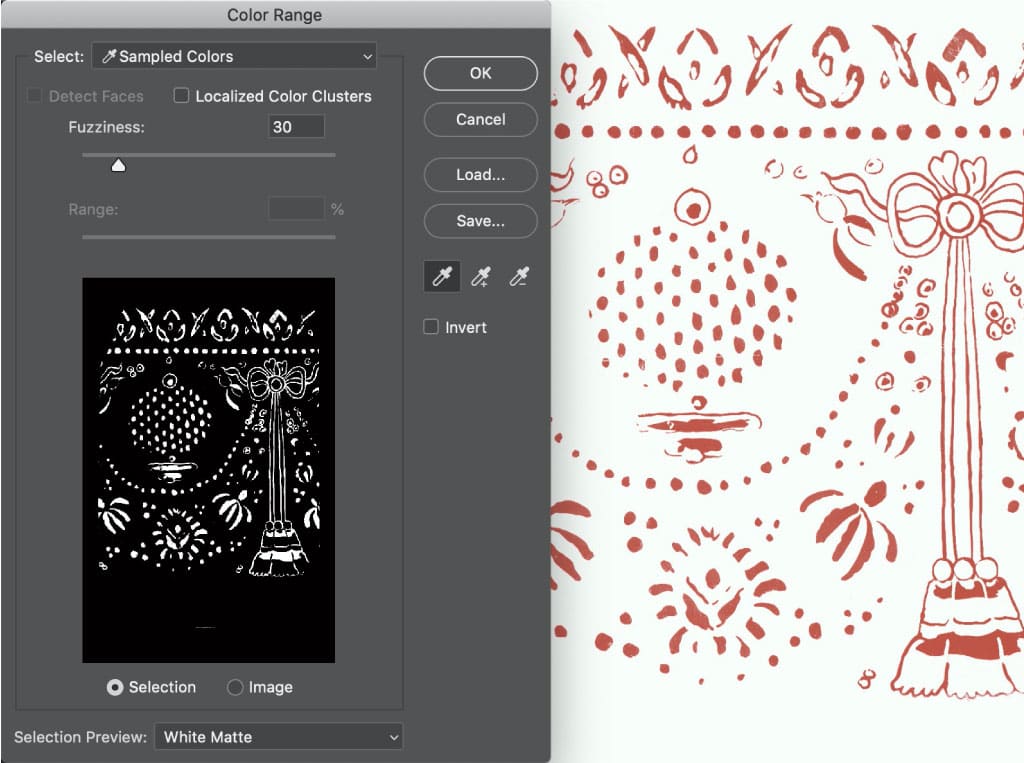
Once a color is selected a duplicate of the current layer can be created, which copies only the selected pixels. We repeat this process until our original file has each color living on a separate layer.
4. Printing a Press Proof Sample
With full control over individual colors established, we provide a number of color variants for our client to review. This is accomplished by using The Pantone Formula Guide. This color matching tool and guide is the best way to select and match specific colors. We then build color variants by adjusting the saturation and brightness of each unique/selected color.
This is an effective way to account for variations in wallpaper finishes which can affect color, and is specifically useful when someone is trying to match and build upon an existing wallpaper in an old house.
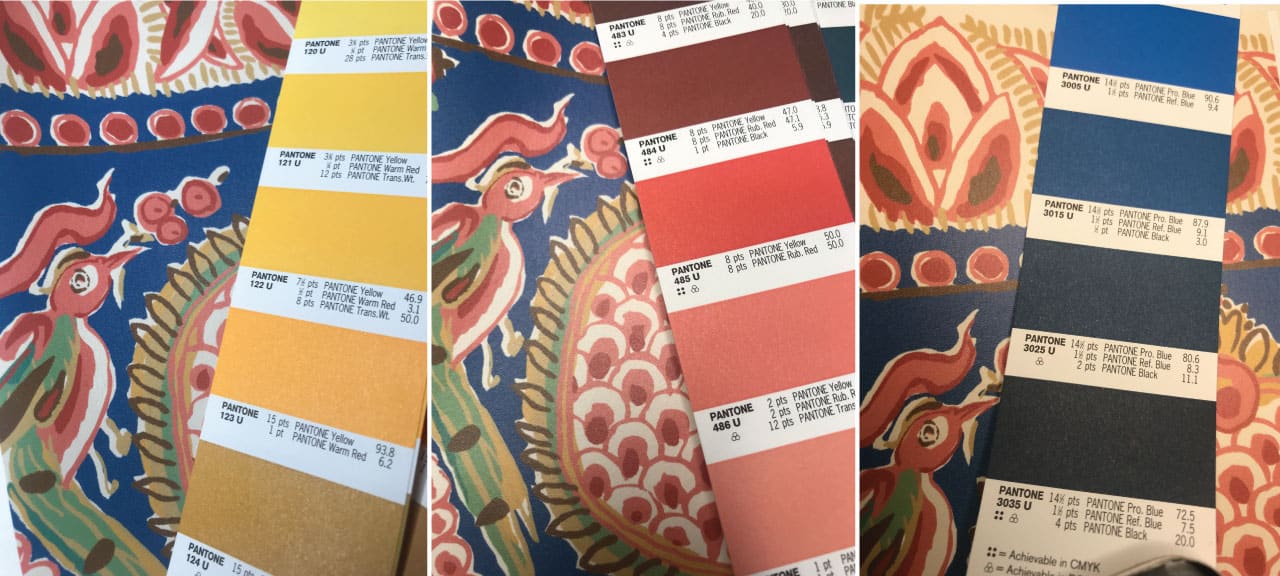
Once we’ve received confirmation the wallpaper colors were a match, the job went into production and was shipped to the client within a few days and loved the final results.

Conclusion
It’s normal to be concerned about missing pieces of a wallpaper pattern, but ultimately we made short work of it with some outside the box thinking. The most time consuming portion of this project was cleaning up the sample and removing the small, but consistent signs of wear and tear throughout the pattern.
We’ve had to handle far more complex wallpaper patterns - masking out entire sections by hand, drawing patterns from scratch, scanning and digitally enhancing colors that have faded for over 200 years, but we will have to save that for the next wallpaper case study.
